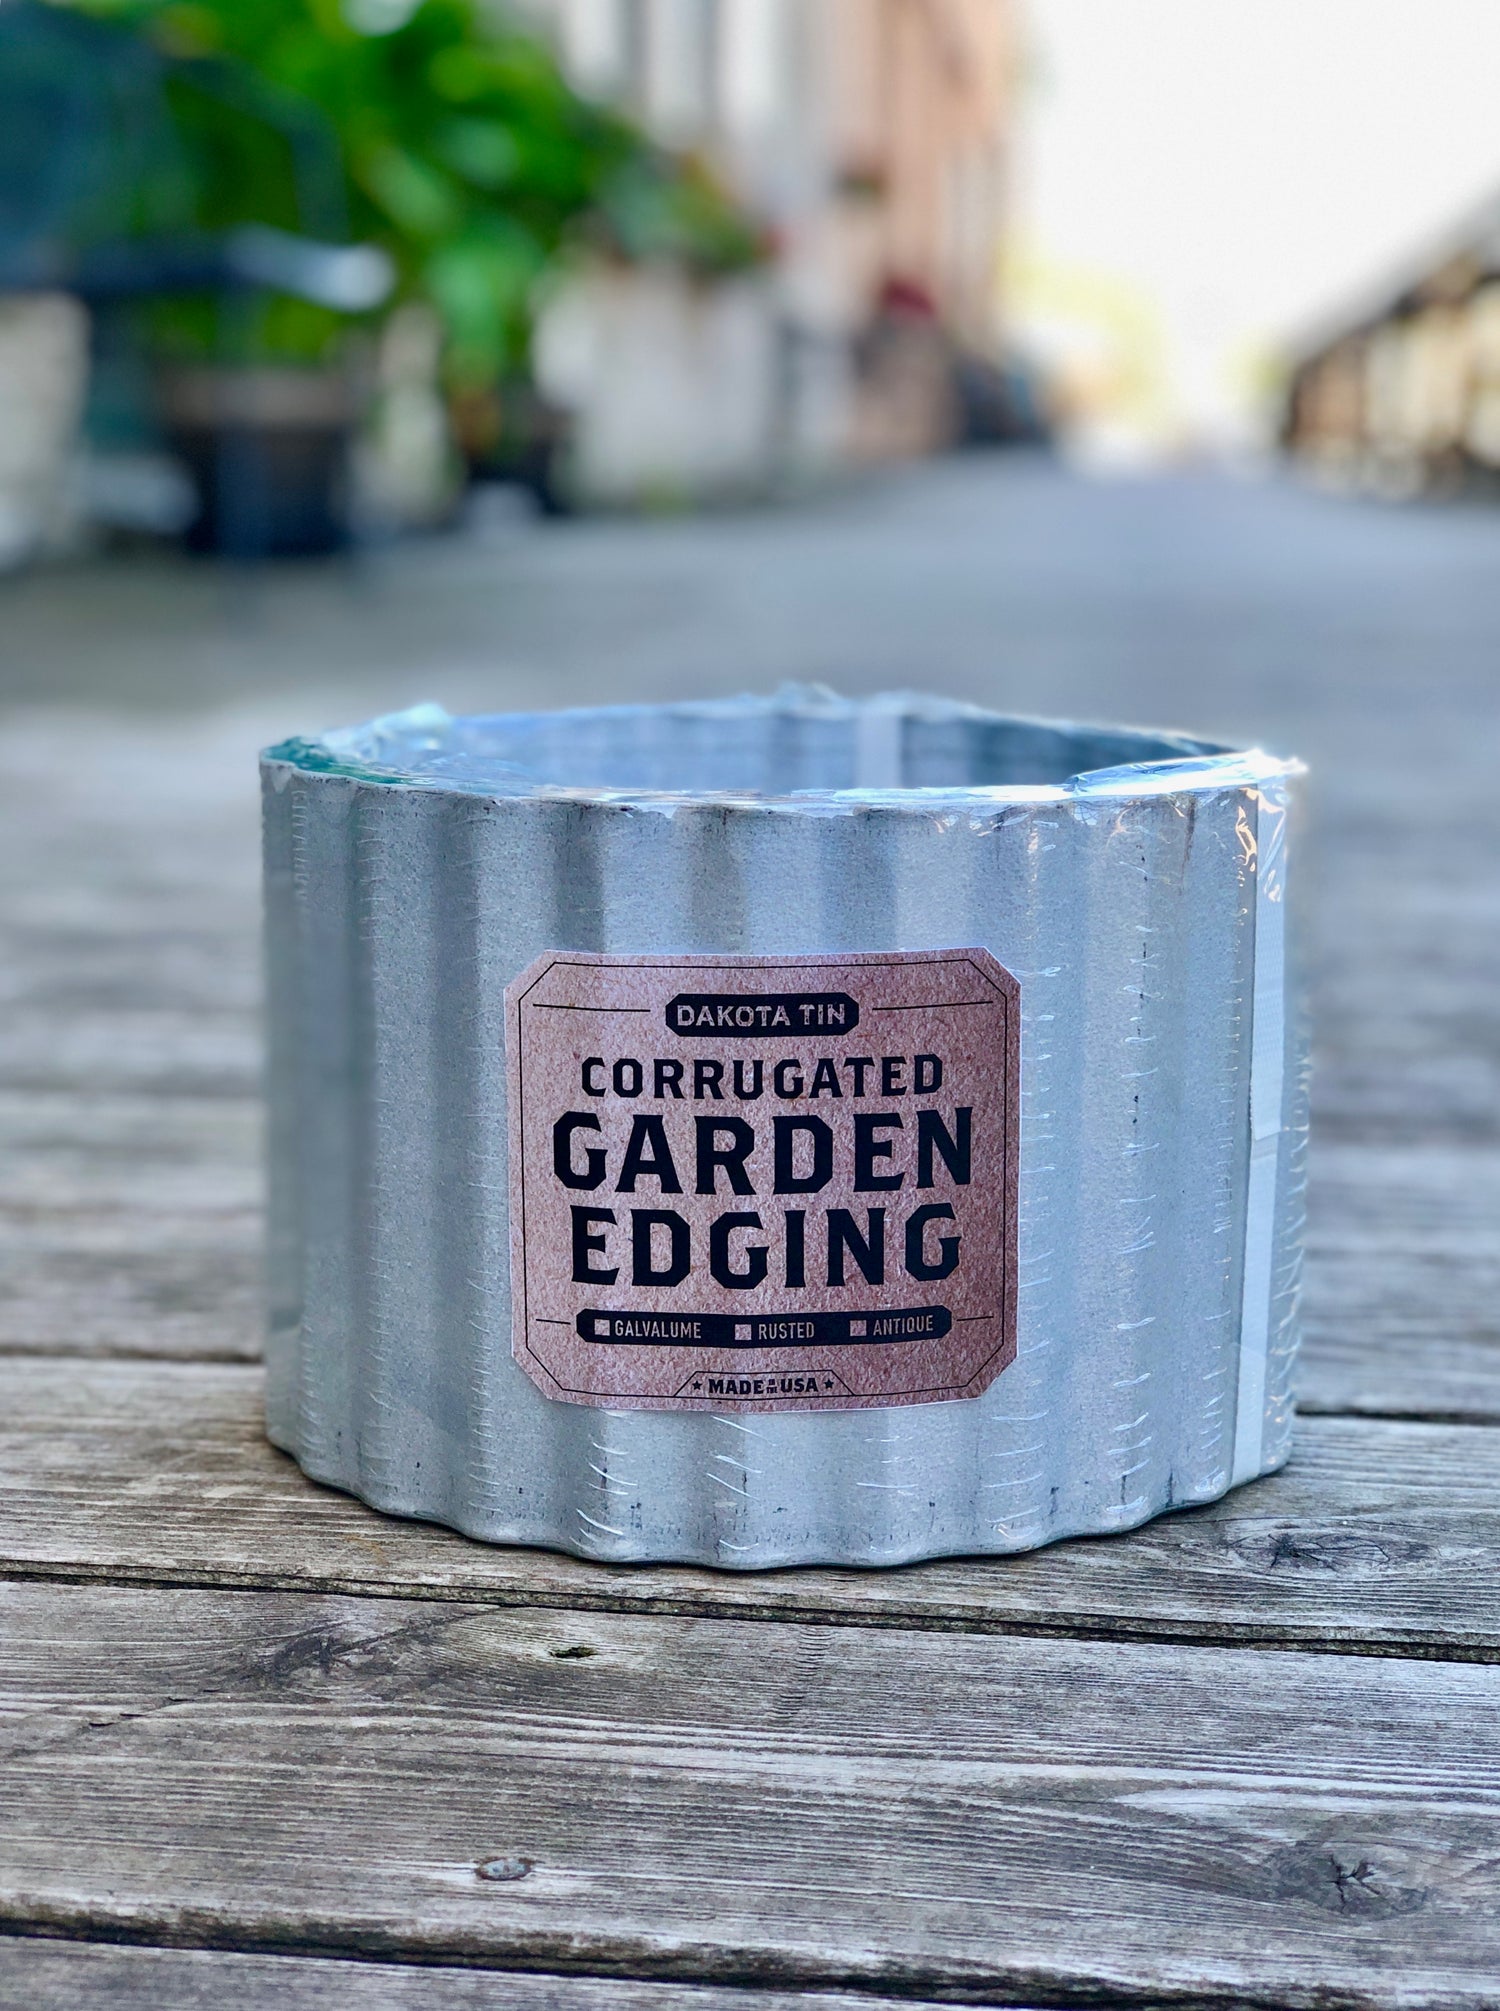
Installing metal landscaping edging from Dakota Tin is easy no matter the design or layout. However, installation differs from project to project and we have an easy guide for both inground and above ground installation. And don’t worry, we have videos too!
Tools and Safety Equipment
Let’s talk about tools! Some of these will vary depending on what your project is, but it is a good idea to have most (if not all) of these on hand, regardless of your project. Here’s a general list:
- Cut-resistant gloves and safety glasses
- Straight-edged tin snips (for cutting smaller sized edging, such as the 4”, 6” and 8”)
- *Optional: Circular Saw with a 7 ¼” by 150 tooth non-carbide Plywood blade, installed in reverse (for cutting the 12” and 15” edging)
- A drill or screw gun
- A hammer
- Shovel - a straight edged shovel is best but anything will do
- Screws (self-drilling metal screws are recommended)
- Wooden Garden Stakes
Once your package arrives, the first thing you need to do is take off any wrapping and inspect the product. Although we take special care to ensure the best packaging for our metal products, please be mindful of potentially sharp edges.
Inground Installation Guide (Option 1)

Inground installation is recommended for our smaller sized edging, such as our Corrugated Metal 4” Landscape Edging. This option is good for general edging of flower beds or pathway edging. Here’s how to get started on our simplest way to install metal landscape edging:
- Plan your garden bed, mark it out if needed. Use a shovel to outline your design.
- If desired, this would be a good time to lay out landscaping fabric, covering the interior and
- having slight excess outside of your markings.
- Begin to place the edging in the outlined design.
- After placing out the edging, take note to see if you need to make any cuts to your edging. It is best to make any length adjustments now, before you start getting the metal into the ground.
- If you need to cut the edging, (since this option is using the smaller sized products) cutting the metal edging can be done by using the tin snips. Take special care as cutting our tin sheets can result in sharp edges.
- Once you have the desired length, you will need your piece of wood or wooden stake. Place the stake horizontally on top of your garden edging.
- Use your hammer to tap on the wood to encourage the edging into the outlined groove. Make sure you are hammering on the wood, because it will save your edging from unnecessary damage.
- Make sure that at least a third of the height is actually in the ground. For example, our 6” Corrugated Metal Landscape Edging should have about 2” in the ground.
- If you need longer than 10 ft, overlapping will be necessary. Simply hammer in a garden stake into the interior of the edging in a location where the two metal panels will overlap.
- Secure the two panels together to the wooden garden stake with a drill and self-drilling metal screws.
- Finally, use scissors or a box cutter to trim excess landscape fabric from outside your design.

Above Ground Installation Guide (Option 2)
Above ground installation is useful for raised garden beds, large planters, creating dimensions in your garden or edging pathways that need higher edging. This installation option would be recommended for installing our 8” - 15” Corrugated Metal Landscape Edging.
- Like before, plan ahead and mark where you want your design. Mark the outline with your shovel and lay landscape fabric, if desired.
- Make any cuts that you need to, but instead of using tin snips, we recommend using a circular saw. We have instructions on how to cut with a circular saw here.
- Place the edging in the outline, and gently tap it into the dirt with the wooden stake. However, don’t worry about having an entire third of your edging underground, focus on just enough to have the tin sheet stand upright.
- Next evenly spread out garden stakes on the interior side of your design. Get them as close to the metal edging as possible, and tab them into the ground. Make sure they are secure. The stakes should be in the ground deeper than your edging and should not be visible from the outside of your design.
- Next secure the metal to the wooden stakes from the outside going in. Use the drill and use at least two screws (one in the top and one in the bottom) to ensure a good, secure connection to the garden stake. Continue this with all the garden stakes.
- Cut off your extra landscape fabric from the outside and you are done!
Installation Guides and Videos
Sometimes seeing our instructions in action is easier than reading about it. If you want to see our installation instructions in motion, we have a short video that covers BOTH installations here. We also have one guide with pictures for BOTH methods of installing metal landscape edging here.
Bonus! One of our customers also provided us with a start-to-finish video of how she used Dakota Tin’s landscaping edging to make an extension in her 2022 garden. You can view it here on her Instagram.
If you continue to have questions, feel free to shoot us a message! We would love to help get your landscaping looking fresh and new!